Sturm Graz vs Fenerbahçe: Tactical Analysis of First Leg
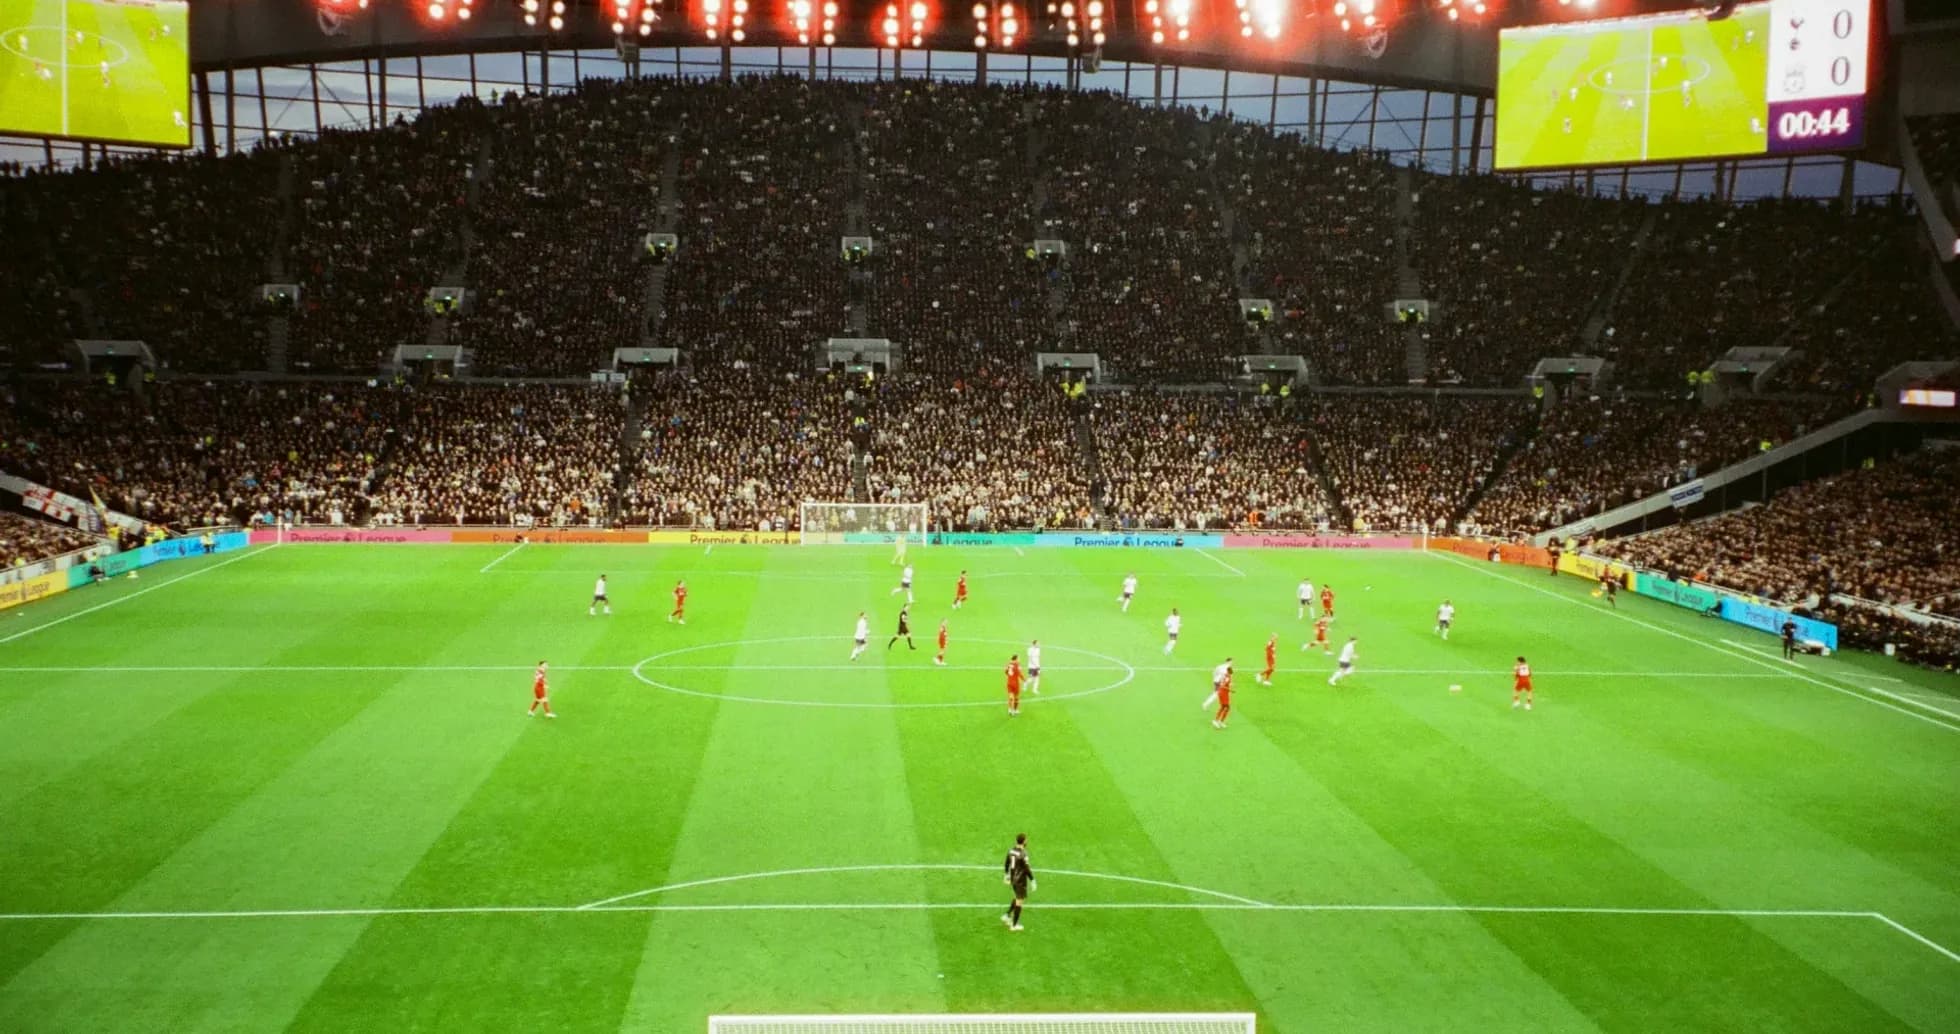
Sturm Graz approached the first leg at Merkur Arena with a clear 4-4-2 structure, looking to match Fenerbahçe’s 4-2-3-1 both numerically and physically across the pitch. The statistical balance in possession (50%–50%) and passes (383 vs 397) underlines a game where territory and control were largely shared, but the visitors’ superior efficiency in both boxes defined the 0-1 outcome.
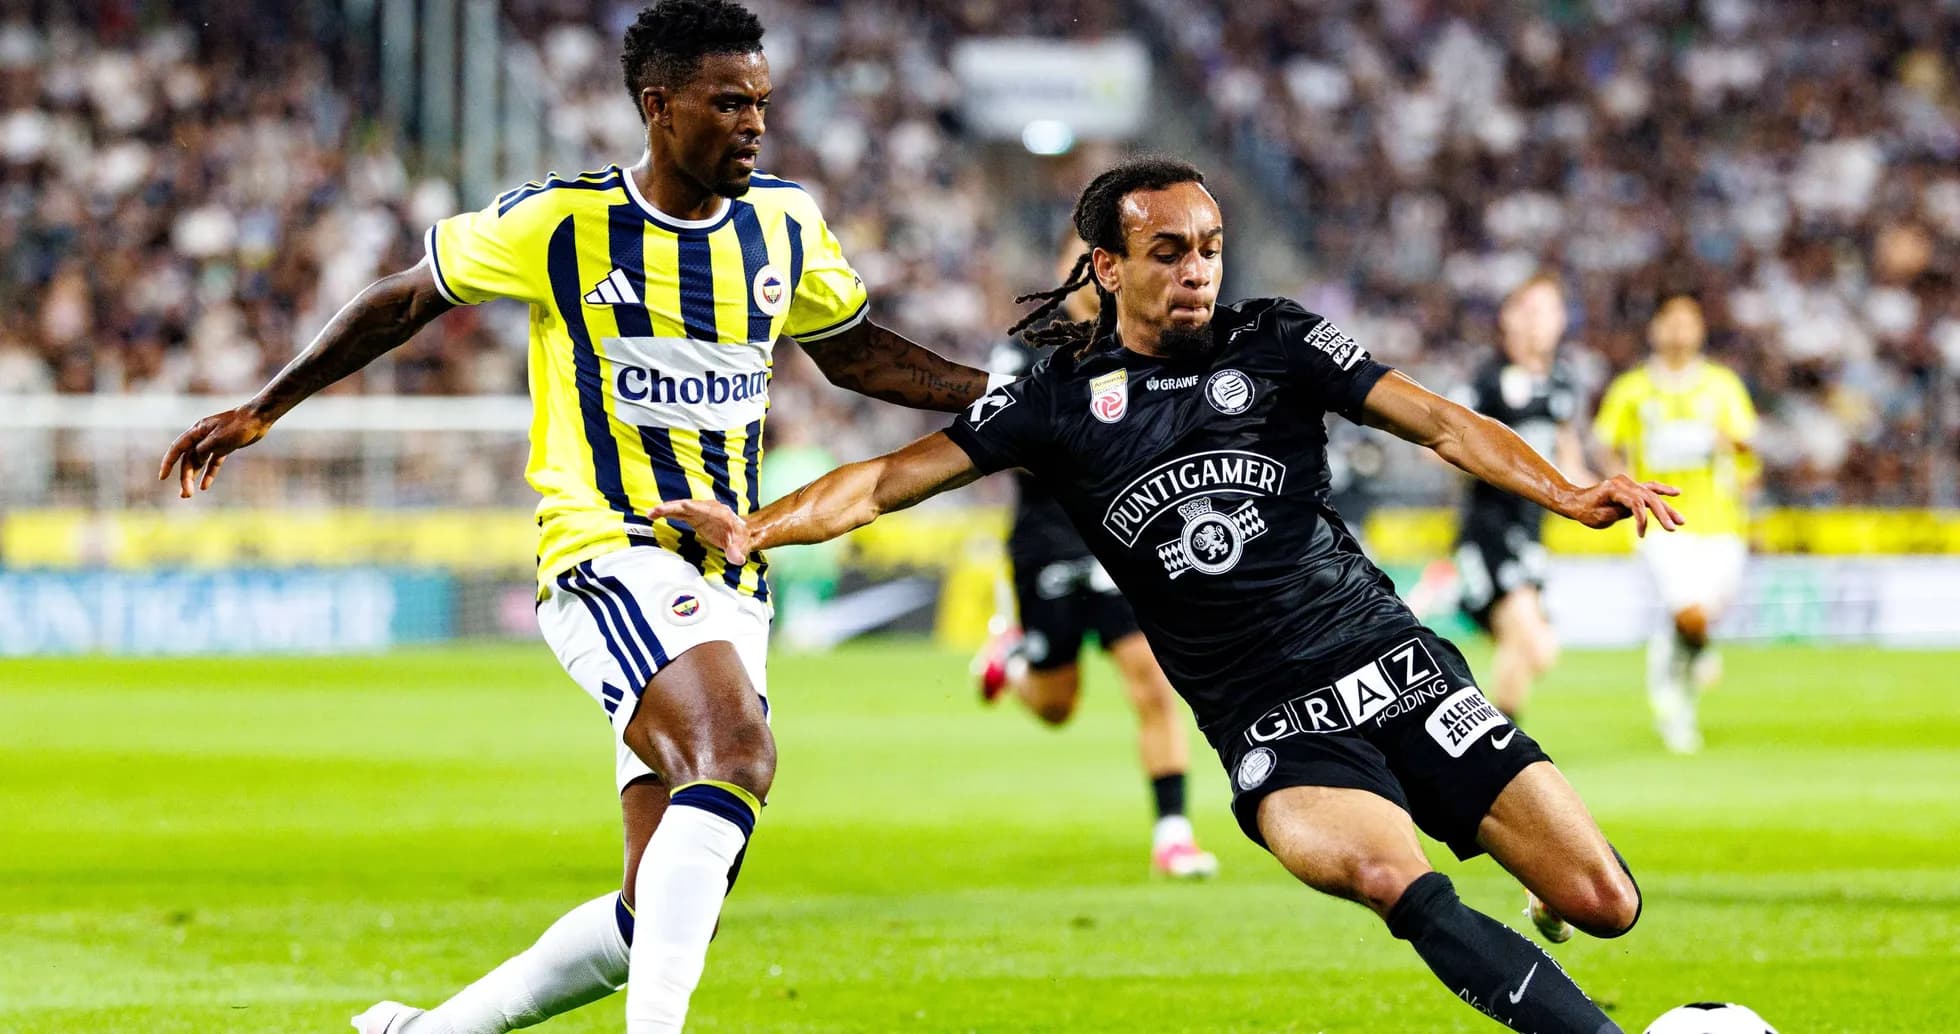
Out of possession, Sturm’s 4-4-2 was compact and horizontally narrow. The two banks of four aimed to screen central access into Talisca’s feet and disrupt Fenerbahçe’s double pivot of N. Kante and M. Guendouzi. The high volume of blocked shots (9) from Sturm indicates an aggressive last-line behaviour: J. Mitchell and P. Petrovic consistently stepped out to confront shots at the edge of the box, while full-backs A. Malic and E. Soglo tucked in to maintain a tight back four. This structure largely forced Fenerbahçe to work through half-spaces and quick combinations rather than enjoying free shooting lanes.
With the ball, Sturm’s 19 total shots but only 2 on goal reveal a game plan built on volume rather than precision. The front pair A. Kayombo and S. Jatta offered vertical runs and physical presence, but the team’s shot profile—13 attempts from outside the box versus 6 inside—shows they were often kept at arm’s length. Fenerbahçe’s back four of N. Semedo, M. Skriniar, N. Ake and Archie Brown held a disciplined line, rarely over-committing into midfield, which limited Sturm’s ability to play into feet between lines. The central midfield pairing of S. Seidl and J. Gorenc Stankovic tried to connect play, and Sturm’s 81% passing accuracy (311 accurate from 383) reflects a technically secure but risk-averse circulation that struggled to break Fenerbahçe’s mid-block.
Fenerbahçe’s 4-2-3-1 was the more structurally refined attacking platform. With K. Akturkoglu and M. Asensio starting wide and M. Greenwood operating as an advanced midfielder, the visitors created natural overloads around Sturm’s full-backs. Their shot map—8 of 11 efforts from inside the box—speaks to a clearer route to goal, using positional rotations and underlaps rather than speculative long-range attempts. The double pivot of N. Kante and M. Guendouzi was central: Kante anchored transitions, screening counters and allowing full-backs to step higher, while Guendouzi linked into the attacking trio, especially combining with Asensio between Sturm’s midfield and defence.
Decisive Phase
The decisive phase arrived around the hour mark, when both coaches reshaped the game. At 61', Fabio Ingolitsch introduced B. Beganovic (IN) for S. Jatta (OUT), J. Heil (IN) for A. Malic (OUT) and N. Weiper (IN) for A. Kayombo (OUT), effectively refreshing both flanks and the forward line. This triple substitution signalled a desire for more mobility and pressing intensity, but it also momentarily destabilised Sturm’s defensive automatisms, particularly on the right side where the back line and wide midfield had to re-synchronize.
Ismail Kartal responded almost immediately. At 62', M. Muldur (IN) came on for N. Semedo (OUT), giving Fenerbahçe fresh legs at right-back. One minute later, Fred (IN) replaced M. Asensio (OUT) and O. Aydin (IN) replaced M. Greenwood (OUT), reconfiguring the attacking midfield zone. Fred’s introduction added ball retention and press resistance in the right half-space, while O. Aydin provided vertical running and depth. This sequence of substitutions tilted the momentum: Fenerbahçe’s structure became more stable in rest defence and more direct in transition.
The breakthrough came from a penalty converted by Talisca at 66'. While the event log does not detail the foul itself, the broader pattern fits Fenerbahçe’s approach: sustained pressure, higher-quality entries into the box, and forcing Sturm’s defenders into reactive challenges. After taking the lead, Kartal further locked down the centre by introducing I. Yuksek (IN) for N. Kante (OUT) at 73', adding fresh energy to the double pivot, and later V. Muriqi (IN) for Talisca (OUT) at 77' to provide a target man for clearances and long balls, shifting the focus to protecting the advantage and attacking mainly through counters and set-pieces.
Discipline played a subtle tactical role. Fenerbahçe collected three yellow cards (Nélson Semedo at 40', Archie Brown at 45', Kerem Aktürkoğlu at 89', all for “Foul”), reflecting an assertive defensive posture and willingness to break up Sturm’s transitions. Sturm Graz received one yellow card (Jeyland Mitchell at 84', “Foul”), which aligns with their generally more conservative defensive risk profile, relying on structure and blocks rather than repeated tactical fouling.
Although individual goalkeeper statistics per player are not specified in the data, the team metrics show Sturm Graz making 5 saves to Fenerbahçe’s 2. This underlines the visitors’ capacity to generate more on-target danger despite fewer total attempts (11 vs 19). Fenerbahçe’s back line, by contrast, restricted Sturm to low-quality finishing, allowing only 2 efforts to trouble their goalkeeper despite conceding more shots overall.
In pure statistical terms, the match was balanced in possession, passing volume and accuracy—Sturm at 383 passes, 311 accurate (81%), Fenerbahçe at 397 passes, 318 accurate (80%). Corner counts (7–6) and fouls (12–13) were also closely matched. The tactical difference lay in shot selection and box occupation: Fenerbahçe engineered 8 shots from inside the box and forced 5 saves, while Sturm were pushed into 13 efforts from range and saw 9 attempts blocked. That contrast encapsulates the tie’s first leg: structurally even, but with Fenerbahçe’s 4-2-3-1 producing clearer, more controlled access to decisive spaces, and their in-game adjustments after the hour mark maximising that edge to secure a narrow but deserved 0-1 away win.